This Spring Cake Bites tutorial is courtesy of our contributor Karen of Cake Bites By Karen…Again, I’m no professional and I’m still fairly new to this “cake popping world” but, as I navigate through this new and exciting time, I’m really learning to take time out to KISS (Keep It Simple, Stupid). The more extravagant ideas I come up with is the more time I spend crying in my shower as I scrub chocolate out of my hair wondering why it didn’t work. I’ve spent a lot of time on Instagram looking at other people’s creations and I’m realizing the most impressive works are sometimes the most simple. That’s my idea behind these cute Spring Cake Bites.
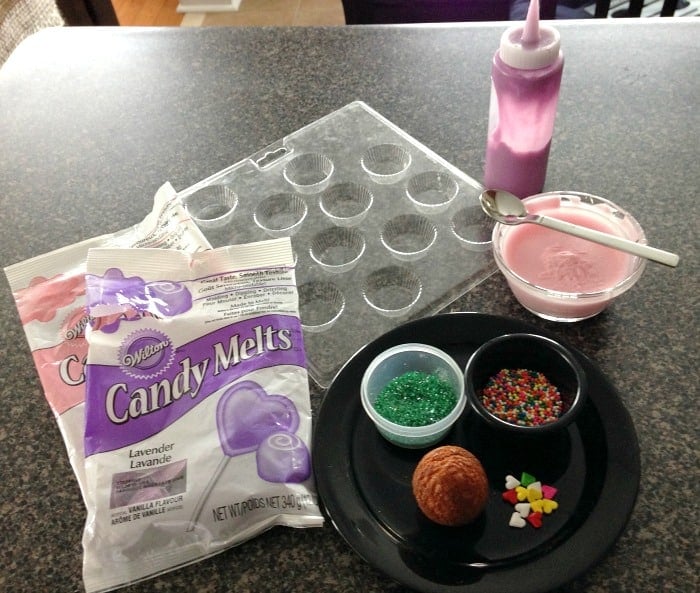
Spring Cake Bites – What You’ll Need:
- cake balls (these can be made using cake pop dough or baked in a cake pop pan)
- a peanut butter cup chocolate mold
- candy melts (any colour)
- squeeze bottle (optional – for decorating or portioning chocolate into mold)
- sprinkles or other decorations
Take your peanut butter cup mold and fill the cavity with melted chocolate, leaving about an inch of space available for your cake ball. You can squeeze the chocolate in with a squeeze bottle or just spoon it in. NOTE: Do not fill your cups to the brim as the chocolate will overflow when you place in your cake ball.
Gently place your cake ball into the chocolate filled cavity. If the chocolate does not reach the top of the mold when you place the cake ball in, you can add a bit more at this step before it hardens.
Place the mold with the cake balls into the fridge to set. I have no patience so I put mine in the freezer for 5-15 minutes (depending on your freezer).
The chocolate cup and the cake ball should now be one. Pop your cake bites out of the mold.
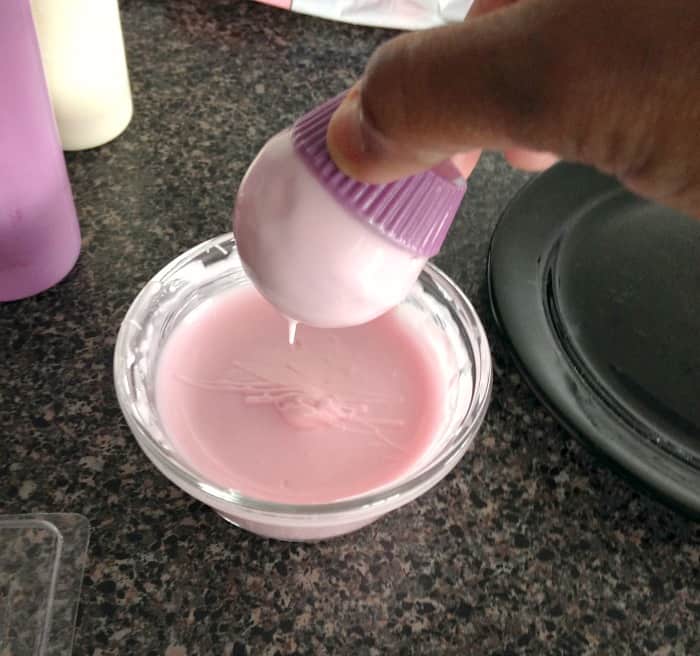
Now this is the fun (and death-defying) part. Make sure your hands aren’t slippery for this step. Take your cake bite and dip the top portion into melted chocolate. Dip the top of the bite to the edge of the chocolate cup.
Practice makes perfect. I lost many fallen cake bites to this step (a moment of silence observed).
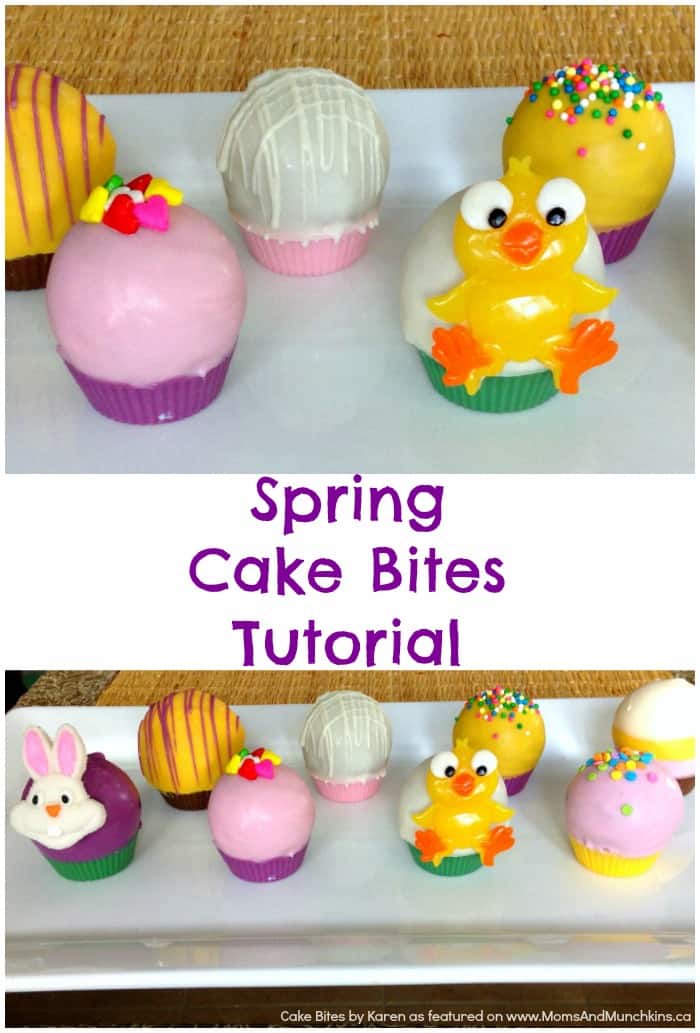
Decorate – the fun step!
The great thing about these bites is that you can eat the whole thing. No wrapper! They are super cute for kid parties or for a grown up cocktail event. Just dress them up or down for any occasion.
Thank you to our contributor Karen for this adorable tutorial! Check out more of her cake pop creations on her Cake Bites by Karen Instagram page.


