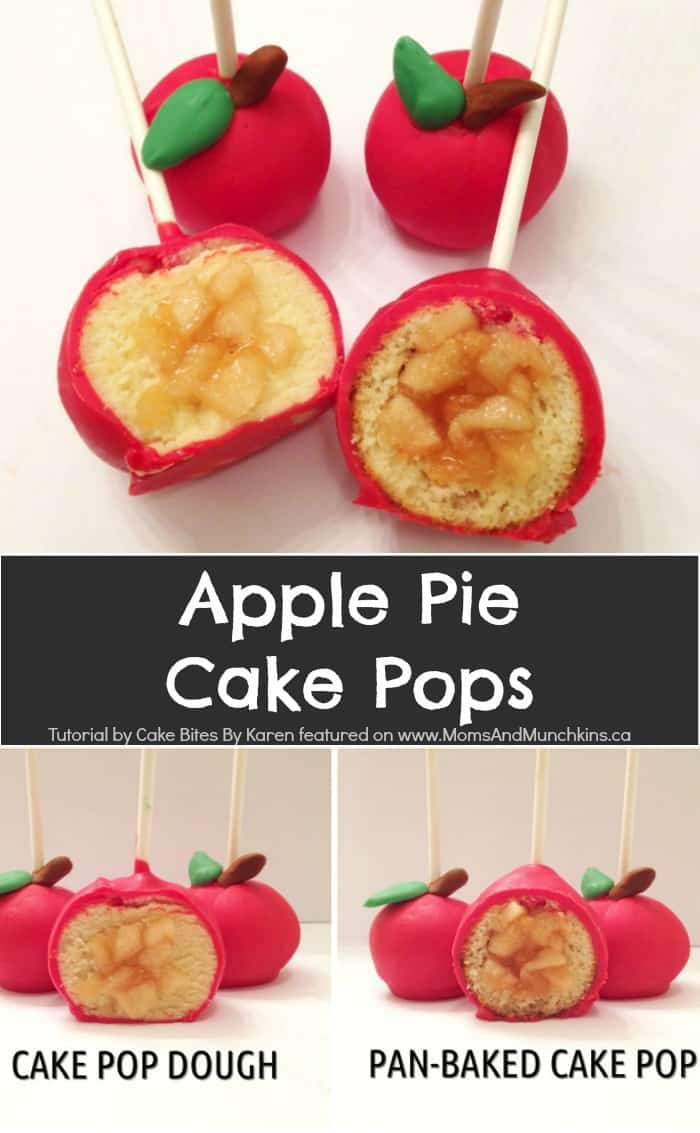
This Apple Pie Cake Pops tutorial is courtesy of our contributor Karen of Cake Bites by Karen…I came up with this idea as a result of my love for eating two things at the same time. Have you even eaten a piece of cake and then eaten a piece of pie and ever wondered…why am I doing this separately?! Cue my take on a new creation, Apple Pie Cake Pops. This will continue to be in my test kitchen (I’ll still play around to see if I can make this recipe better) but I posted a picture of my first attempt with this on my Instagram and I received a lot of requests as to how I accomplished this feat.
In this tutorial, I will feature two alternative ways to create this pop. The first will feature the use of cake pop dough. The second (my preference) will feature the “faked” cake pop, baked in a pan. So let’s get to it!
Apple Pie Cake Pops – What You’ll Need:
- cake mix – I used vanilla
- eggs
- milk
- oil
- apple pie filling
- melting chocolate
- cake pop sticks
- any decorations you want
- optional: cake pop pan/mold
- optional: apple corer
Apple Pie Cake Pops – Version One – Cake Pop Dough:
Step One: Prepare and bake the cake as per the box instruction. Crumble and add frosting until you reach a playdough-like consistency.
RAMBLE: Now, I am not the authority on cake pop dough! I am still working on perfecting my cake pop dough recipe to share (i.e., with actual measurements). Annoyingly, like our grandmothers of old, I must confess that when I prepare my cake pop dough, I work more with the feel of the dough (to know when it’s ready) rather than knowing the actual quantity of icing used. I don’t like my dough too mushy so I try to work with the cake as soon as it’s cooled and do not use any of the brown pieces to make sure my dough is extra fluffy. BUT… I know this is a tutorial so generally if you use one box of cake mix (520g) and have one container of ready-made frosting (455g), I would add ¼ spoons of frosting at a time until you get a smooth consistency. You should not need more than ½ of the container of frosting or your cake balls will be too sticky and not hold to the treat stick.
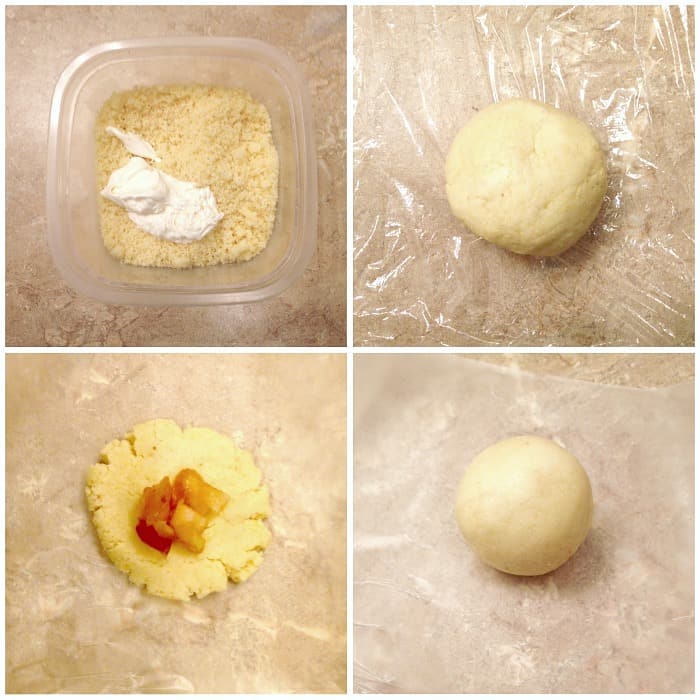
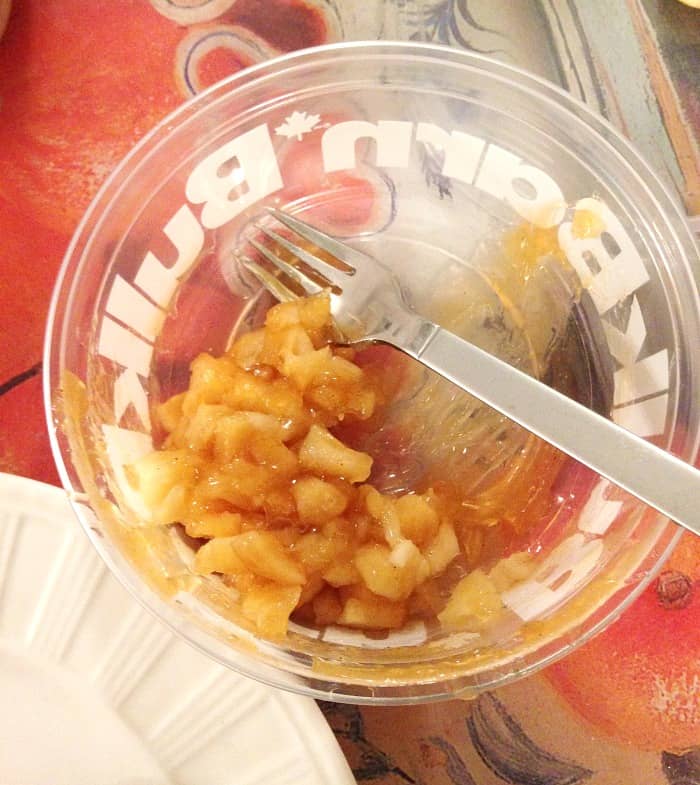
Step Two: Section and roll the cake pop dough into a palm-shaped ball and flatten. Mince your apple pie filling into small chunks and portion a small amount into the middle of your flatten dough. You’ll be tempted to add a lot of filling but avoid this as it will lead to seeping and a mushier pop that won’t hold.
Step Three: Take the flatten dough and close your hands around the apple pie centre, sealing and securing the filling within the cake pop dough. I’ve never made one, but I assume this is similar to how you would make a meat or veggie potsticker.
Step Four: Roll the cake pop dough (with the apple pie centre) into smooth balls and place into the fridge to set. You can prepare several of these prior to dipping, just make sure that your cake ball and melted chocolate are of similar temperatures before dipping or your cake pop will crack.
Step Five: As with usual cake pop making, dip your cake pop stick into melted chocolate and then insert the dipped stick into your cake ball. Let the stick and naked cake pop set/dry. Once set, dip your whole cake pop into the melted chocolate and decorate, as desired.
Apple Pie Cake Pops – Version One – Pan Baked Cake Pop:
Step One: Prepare the cake mix as per box instructions and pour the batter into your cake pop pans/molds. Bake as instructed – depending on your pan or mold, instructions will vary. Let the cake balls cool.
Step Two: Once the cake balls have cooled, you may need to do some trimming. Some pans leave your cake ball with a Saturn-like ring around it. To ensure your pop is smooth, take a paring knife and smooth off the excess rings. Next, take your apple corer and push it into the top of the cake ball – about ¾ of a way into the ball. Removed the cored section and cut it leaving a ¼ of the top section that you will use later.
Step Three: Mince your apple pie filling into small chunks and fill the cake ball cavity with apple goodness, leaving enough room to cork it with the ¼ cored cake piece from Step Two. Often to secure the cork – and this is something I’m still trying to figure out – I will smooth some melted chocolate around the edges of the ¼ cored cake piece to make sure it holds to the filled cake ball. Once the cored cake piece and the filled cake ball are secured to one another, you can move onto Step Five above to dip and decorate as you like.
TIP: One way to get around any difficulty with the cake pop stick is to omit the stick altogether and just turn this treat into a cake ball. Simply dip your filled cake ball in chocolate and decorate.
FINAL THOUGHTS
Personally, I prefer Version Two of this recipe as it’s not as mushy as with the cake dough. For a whimsical effect, I made these into apples to go with the theme but they’re great no matter how you choose to decorate them.
This recipe is definitely still a work in progress but is a really yummy idea so try it out and make changes that suit you and your likes. Happy baking everyone!
Thank you to our contributor Karen for this fun cake pops tutorial! Check out more of her cake pop creations on her Cake Bites by Karen Instagram page.


