This Waffle Cake Pops tutorial is courtesy of our contributor Karen of Cake Bites by Karen…This article is truly dedicated to the mom with absolutely no time but a heart for making her kid smile. I was racking my brain, thinking of what to write this month. I wanted something that was fall-focused, unique, easy and fun. Apple cake pops – done it. Pumpkin cake pops – Zzzzz. A cake pop in the shape of a turkey? Wait…Karen I thought you wanted to make this easy? So I went to the kitchen to get some “thinking food” (aka chips…that’s why my body shape is pear folks) and there I saw it – the waffle maker. I made some waffle cake pops before for some friends and they were a huge hit so I thought why not try it again with some fun fall shapes and colours!
Waffle Cake Pops – What You’ll Need:
- cake mix or brownie mix
- eggs
- milk
- oil
- pudding (optional)
- waffle maker
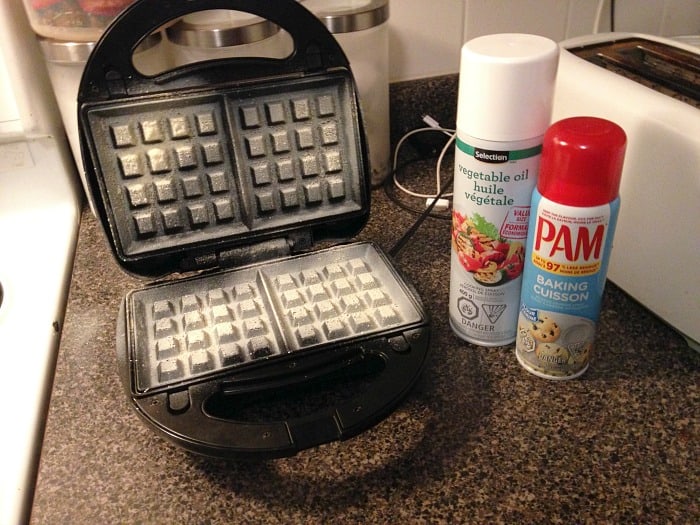
- cooking/baking spray
- cookie cutters (your choice)
- chocolate melts (any colour)
- treat sticks
- Fall/Halloween candy decorations
Step One: Prepare the cake mix according to the directions on the box but reducing the milk/water liquid by half and adding an extra egg to make the cake denser. You can also add a package of pudding to thicken it up. If using a brownie mix, just prepare the batter as per the box instructions. To keep with the fall-theme, you can also chose an apple or pumpkin spiced cake mix.
Step Two: Spray your waffle iron thoroughly with cooking/baking spray – this will ensure that your cake waffles don’t stick to the iron and will make removal a whole lot easier. Pour in your cake batter, making sure your waffle iron is hot. Some waffle irons have an auto shut off or alert when done – mine does not, so I cook them until they have firm appearance. Basically you want to make sure it will be firm enough to stand on the treat stick but not burnt.
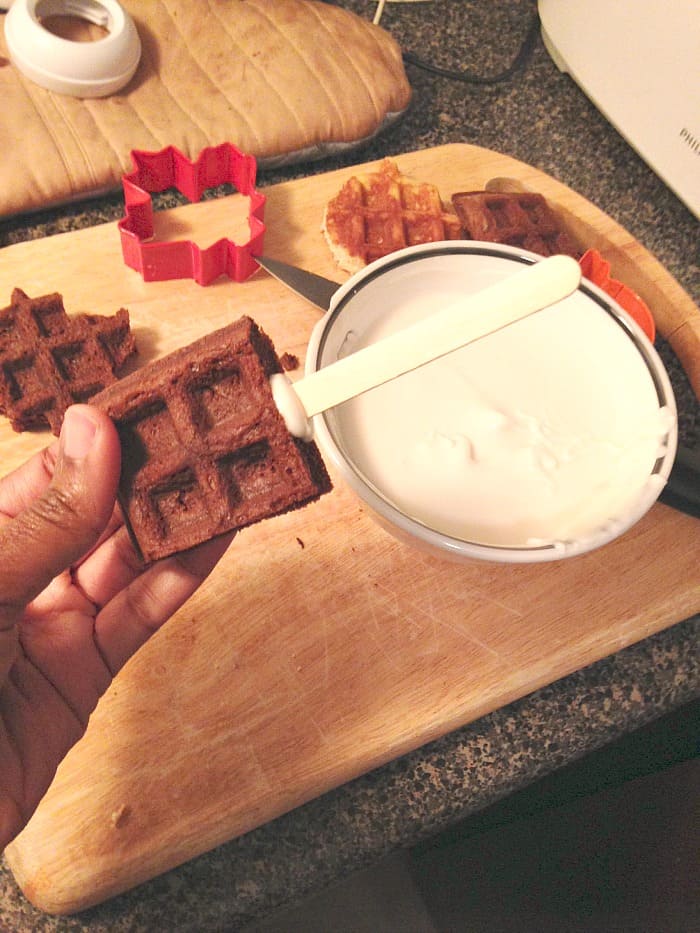
Step Three: Let the waffle cakes cool. Once cooled, you can decide whether you want to leave them as is, cut into smaller portions or use a cookie cutter to create fun shapes.
If you’re not using a cookie cutter, skip to Step Four.
If you’re using a cookie cutter, simply place your cookie cutters over the waffles (once waffles are completely cooled) and cut out your shapes. Again, to keep with the theme, you can use some fall-themed cookie cutters from the dollar or bulk store.
Step Four: Dip your stick (I’m using popsicle sticks because that’s what I had) in your chocolate, then push it part way into the waffle cake. You’ll have to be a bit gentler with the waffles than you would with a cake ball as they are thinner than (and not as sturdy as) cake pop dough. Set to dry.
Step Five: The decoration part is completely up to you. You can dip the entire pop into the chocolate and decorate it according to whatever shape you have (if using a cookie cutter) or you can dip it partially if you don’t want too much chocolate and want to keep the integral look of the waffle. It’s up to you and your time. This is something so fun to do with kids! AND…no baking so it’s super fast!
And there you have it! A fall-themed waffle cake pop that is quick, easy and will make you look like the best mom ever!
Thank you to our contributor Karen for this fun cake pops tutorial! Check out more of her cake pop creations on her Cake Bites by Karen Instagram page.


