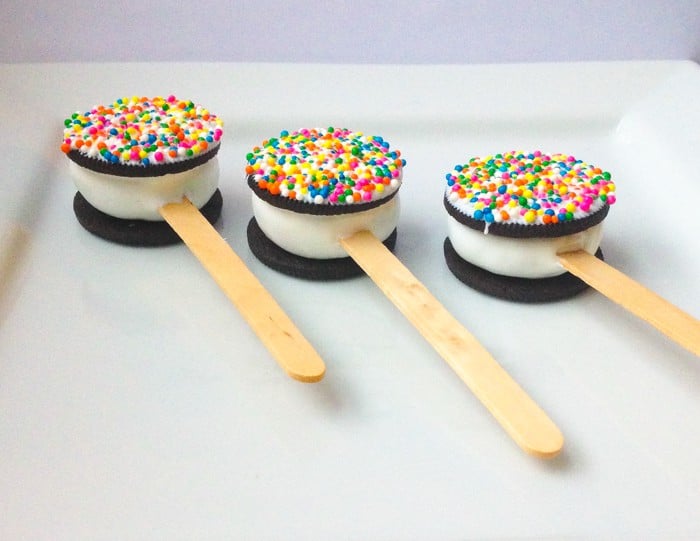
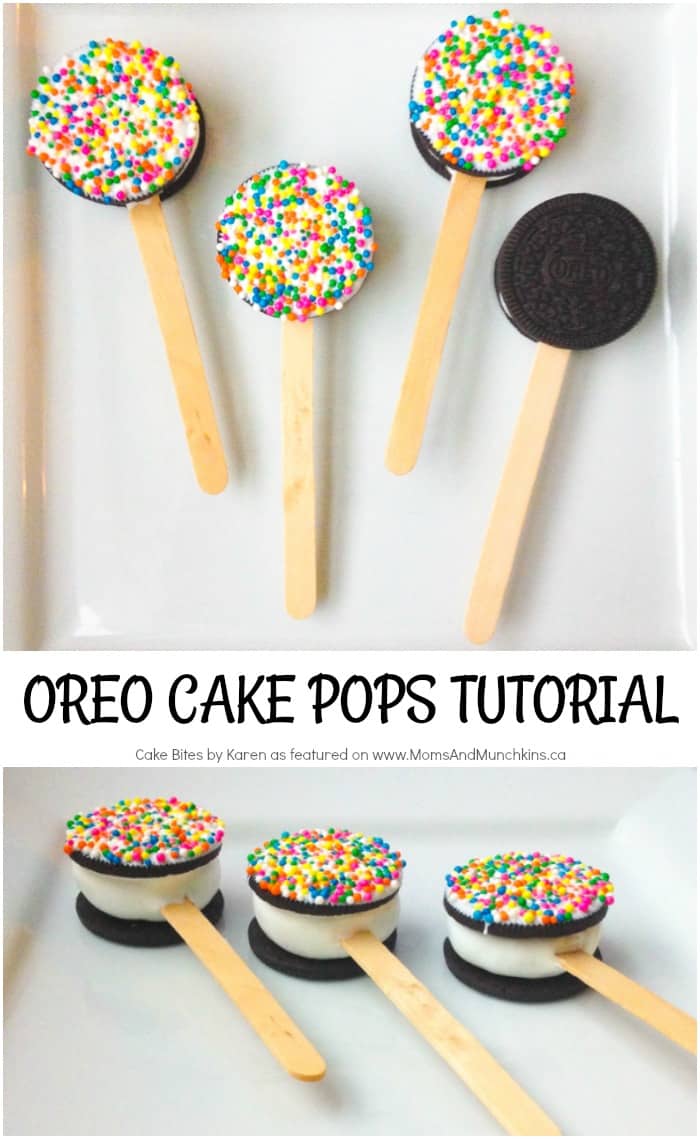
This Oreo Cake Pops tutorial is courtesy of our contributor Karen of Cake Bites by Karen…A lot of times when I dream up cake pop ideas, I usually Google or search the concept to see if it’s been done already. If it has (which is rare, as I have a really weird sense of food imagination), I try to think of an easier approach to make it faster and more cost-effective for the everyday mom. This pop was birthed out of just looking at an Oreo cookie. You’ve got a cookie with a yummy filling. What if that yummy filling was a cake pop? You might as well put the whole thing on a stick, right? I told you, I have weird sense of imagination. So here’s what you need to create these fun Oreo cake pops.
Oreo Cake Pops – What You’ll Need:
- cake mix
- eggs
- oil
- milk
- canned Frosting
- Oreo cookies
- candy melts (any colour)
- treat/cake pop stick
- sprinkles and/or other decorations (optional)
Step One: Bake your cake as per the cake mix instructions and let the cake cool.
Once the cake has cooled, you can crumble it. TIP: I avoid using the edges of the cake meaning the sides, bottom and (depending on how badly I burn my cake) sometimes even the top. When crumbling your cake, you want it to be nice and fluffy. The fluffier the cake crumble, the less frosting you’ll have to add. For a whole box of cake mix, I usually use no more than 3 generous scoops of frosting or ¼ of the can. Mix the frosting and the cake crumble until you get a playdough like texture. Roll into a large ball and place plastic wrap over it while you work on the next step.
You can actually put your cake dough into the fridge to create the pops on another day (which I did). Just make sure when you dip your cake dough into chocolate, the cake dough isn’t too cold otherwise you will get cracks in your pop when it dries.
Step Two: Open a box/bag of Oreos and carefully try not to eat the whole thing. Separate the Oreo cookie from the creamy filling, discarding (or eating) the middle and putting the cookies to the side. I only made 20 pops but you can easily get 30 Oreo cake pops out of one boxed cake mix.
Step Three: Section a small ball from your cake pop dough. I usually use a mini ice cream scoop to measure my cake pops but for this recipe that amount of cake dough is simply too much. Use about half the scoop or just eyeball the amount you need by placing the ball over an Oreo cookie to see what will suffice.
Step Four: Roll the cake ball until smooth and flatten to a patty-like appearance. Now don’t worry, you probably will get some cracks to you edges. You’ll have to work your cake patty and smooth and pinch the edges the best you can. With the rest of the cracks, you can apply some melted chocolate as a plaster. This will plug any cracks so when you dip it your pop will come out smoother.
Step Five: Once you have your cake patty, dip your treat stick into the chocolate and then into the cake patty. Leave to set/dry. If you get cracks when inserting your treat stick, use the plastering method to cover and fill the cracks. The more cracks you can fill pre-dipping, the smoother pop you’ll get. Remember, if you can’t get every crack your pop will be covered by a cookie so it doesn’t have to be perfect.
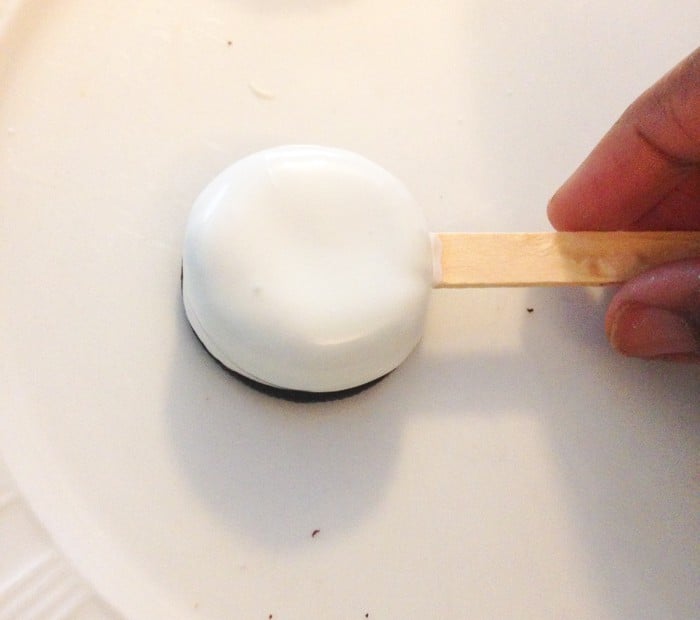
Step Six: Once the stick and cake patty are one, dip the entire pop into chocolate.
Step Seven: While the pop is still wet, affix your cake pop onto one Oreo cookie and cover the top with another Oreo cookie.
Step Eight: Decorate or leave plain. Once the chocolate on my pop was dry, I dipped one side of my Oreo into chocolate and covered it with sprinkles but you can really decorate your pop any how you want – candy, a smiley face – there are so many options.
So there you have a super cute alternative to an Oreo pop. It’s still just a cookie on a stick but amped up with a cake in the middle. You can dress it up or down, either way it’s the fanciest sandwiched cookie on a stick you’ll find! Happy Baking!
SPECIAL FOLLOW UP: So I tried this recipe again and I found it 10 times earlier to press the cake dough into a container and cut out circles with a cookie cutter, the size of the Oreo cookies. There was less cracking of the edges. Try it for yourself and let me know how it went!
Thank you to our contributor Karen for this fun cake pops tutorial! Check out more of her cake pop creations on her Cake Bites by Karen Instagram page.


