This Hawaiian girl cake pop tutorial is courtesy of our contributor Karen of Cake Bites By Karen…As moms, we are often expected to be it all: a round-the-clock-maid, an ATM machine and a professional baker. Well, professional I ain’t, but I do find ways to cheat and cut corners to keep up my appearance of awesomeness (LOL). I did these Hawaiian Girl Cake Pops awhile back for a friend’s party and they were a huge hit with all the kids. You’d be amazed at how a little tape and paper (as well as a hula skirt made out of cake) can give the allusion of awesome!
Hawaiian Girl Cake Pops – What You’ll Need:
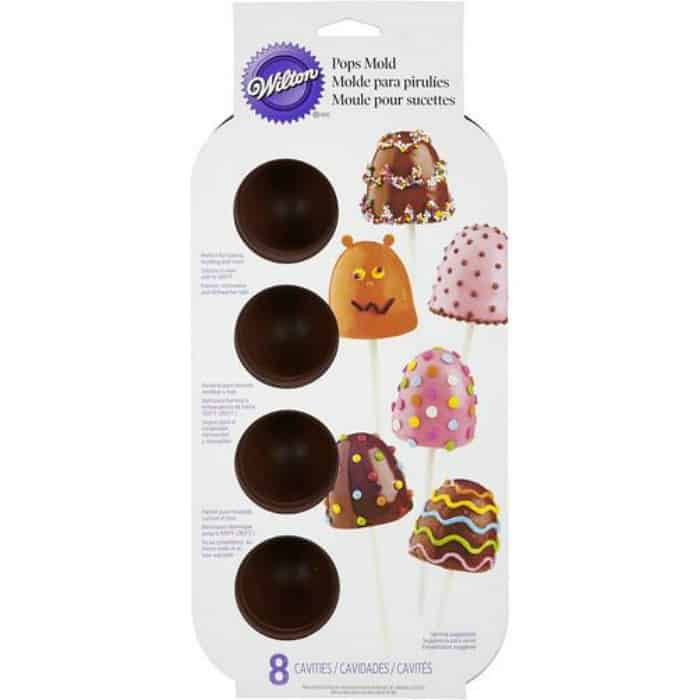
- a brownie pops silicone mold (I used a Wilton brand mold)
- cake or brownie mix
- eggs
- milk
- oil
- green chocolate melts
- squeeze bottle
- wax paper
- cake pop sticks/straws
- picture of a Hawaiian hula girl (here is a cute set on Etsy)
- scissors
- tape
Step One:
Prepare the cake/brownie mix as instructed on the box. If you make cake pops, I like to make my cake a bit denser by adding an extra egg and only using half the liquid required. For example, if the box mix requires 1 ½ cups of milk, I will use only a ¾ cup of milk (1 cup reduced to ½ cup + ½ cup reduced to ¼ = ¾ cup). There can be such crazy math in baking! This denser pop is purely optional. To save yourself the stress, just prepare the cake mix as per the box. Brownies are denser by nature so I wouldn’t alter their recipe.
Step Two:
Pour the batter into the silicone mold to the fill line as per the mold’s instruction. There will be overflow when you bake your pops but if you fill the mold to the top (over the fill line), the overflow will be messy.
Step Three:
Bake as instructed and let cool in the mold.
Step Four:
Before you remove the pop from the mold, take a knife and cut the tops (which will later become the bottoms) of the pops. Lay your knife flat and level with the mold (as pictured) and glide it over the top ensuring an even cut amongst all the pops.
Eat any excess cake. LOL
Step Five:
Remove the pops from the mold and begin to melt your chocolate for dipping.
Step Six:
Now, this is just a side note – I love using different types of sticks and straws on cakes pops. Many of them come in different patterns and colours that often give a pop and extra POP! This just me though, but I find most straws excessively long, so I’ll often cut the straws to a normal treat stick length for my own sanity…but I digress.
Take your cake pop stick/straw and dip the end of the stick/straw into chocolate. Insert the stick/straw into the narrower top portion of the pop and set aside to let draw. The wider portion of the pop will be the bottom of the pop and, as you use your imagination, you’ll be able to see that this will be the hula skirt.
Step Seven:
Once the chocolate on the stick/straw has dried you can dip your hula skirt pop in chocolate and lay flat onto wax paper to dry.
Step Eight:
Now the fun part – you can stop right there if you want but to obtain the grass affect I filled some of the chocolate into a squeeze bottle and drizzle down some vertical lines of green for a textured affect.
Step Nine:
Print out an image of a hula girl and cut her out. I found this cute hula girl just by Googling and copying the image to a Word doc. If you can, try printing her on cardstock or a thicker paper. You’ll only have to cut out the top portion of her as the cake pop will act as her skirt. It’s a little time consuming but totally worth the look. Once you cut out your girls, simply tape them to the cake pop stick/straw and you have an awesome favour or treat for any Hawaiian party.
I really debated whether I should purchase this silicone mold. I still haven’t made a brownie pop (as per the packaging) but I’ve made Elsa and Anna “Frozen” cake pops that were just as fun and I can see me using this mold to make other skirt-theme cake pops in the future. All in all, I’m glad I bought it and can’t wait to see what else I can use it for!
Make sure to check out our other cake pop recipes.
Thank you to our contributor Karen for this fun cake pops tutorial! Check out more of her cake pop creations on her Cake Bites by Karen Instagram page.


Those are simply adorable!!!
Thank you so much, Tania!
Hey Cheryl, just wanted to THANK YOU for giving STEP BY STEP instructions WITH PICTURES!!! For a novice like me, I need the structure of step, picture, step, picture. I feel confident enough to try to do this myself! Will let you know if I do!