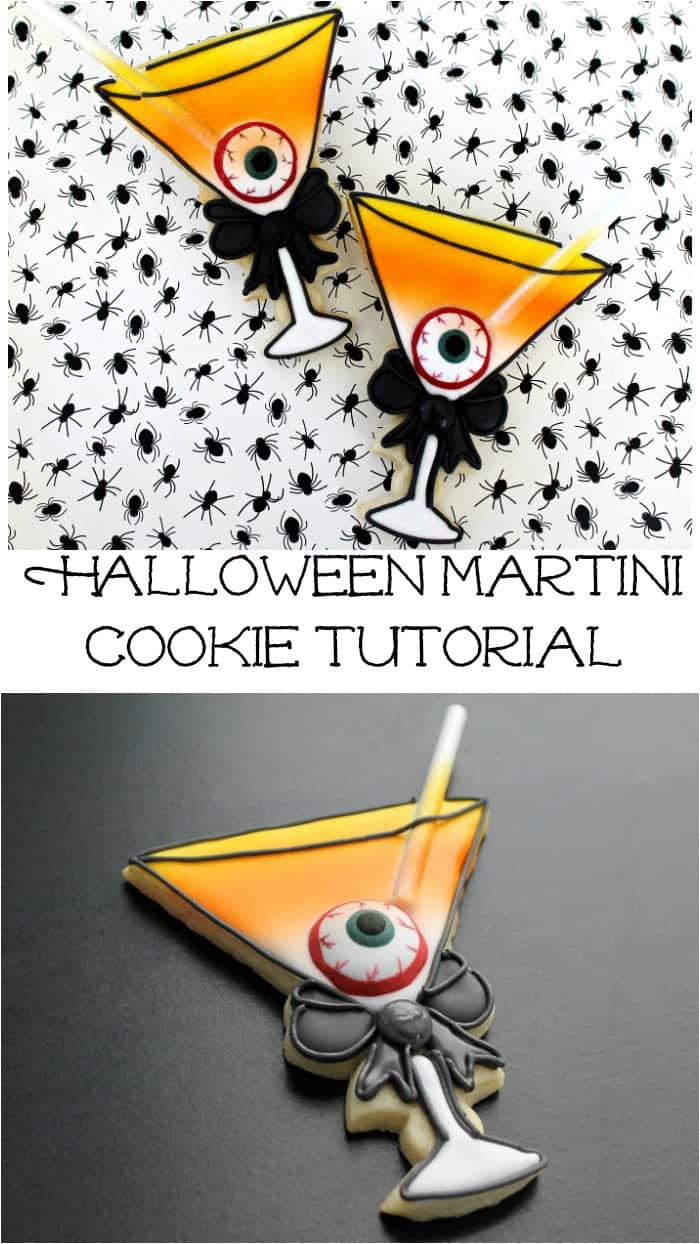
This Halloween Martini Cookies Tutorial is courtesy of our contributor Amy of BZ Bees Sweet Treats…Mountains of Halloween candy have been calling to me for weeks as I’ve walked the aisles of my local grocery store. And the same question once again presents itself – do I buy my favorites in the event of leftovers? Or should I stick to candy that won’t tempt me at all? Maybe I’ll skip the sweets all together this year and enjoy a more grown up Halloween treat – a candy corn Halloween-tini! Follow along for this festive cookie decorating tutorial, then break out the cocktail shaker for a matching drink!


Halloween Martini Cookies – What You’ll Need:
- martini shaped cookies – I just trimmed up the margarita glass cutter I already had from Sweetleigh Printed’s shop, but you can find her girly martini glass here (sugar cookie recipe)
- white 20 second royal icing (royal icing recipe)
- candy eyeballs ( I used a set by Wilton but be on the lookout for chocolate or gummy eyes at your local craft or party store)
- lollipop sticks and a sharp pair of scissors
- yellow and orange airbrush or Wilton color mist
- black icing in piping and 20 second consistency

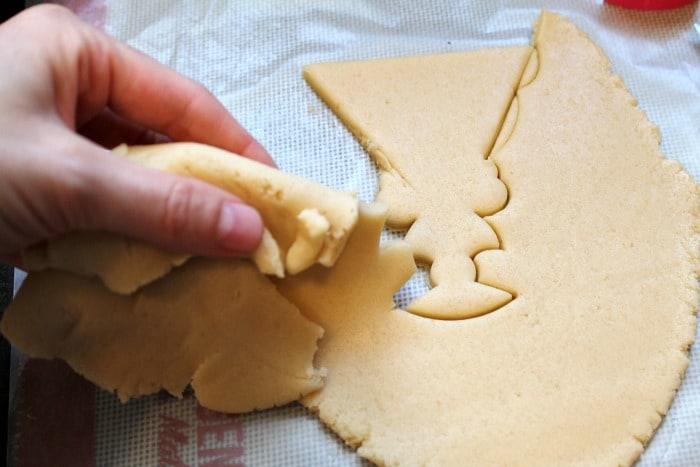
Don’t be afraid to “think outside the cutter” for any of your cookie designs. As I mentioned above, I modified Sweetleigh Printed’s girly margarita glass for these cookies. Sometimes a simple trim can can create a brand new shape! Just be sure to use chilled dough, a sharp knife and a steady hand.


Before you begin icing the cookies, prep all the necessary supplies. Cut the lollipop sticks in half using a sharp pair of scissors, and remove the candy eyeballs from any packaging. We’ll be adding these accents while the icing is wet.

Using the white royal icing, outline and flood the triangular section of the cookie.

Immediately place a candy eyeball in the bottom and then place your lollipop stick at an angle on one side.


Who needs blue cheese stuffed olives when you can have a skewered eyeball instead?!
Next, add in the stem and base of your glass. I only went halfway up my cookie, as this particular design leaves space for a cute little bow. If you’re using a different martini glass shape, pipe the stem all the way up to the bottom of the glass.

Once your icing is dry, airbrush a stripe of yellow across the top edge of your cookie. You can use cans of Wilton color mist if you don’t have an airbrush machine.
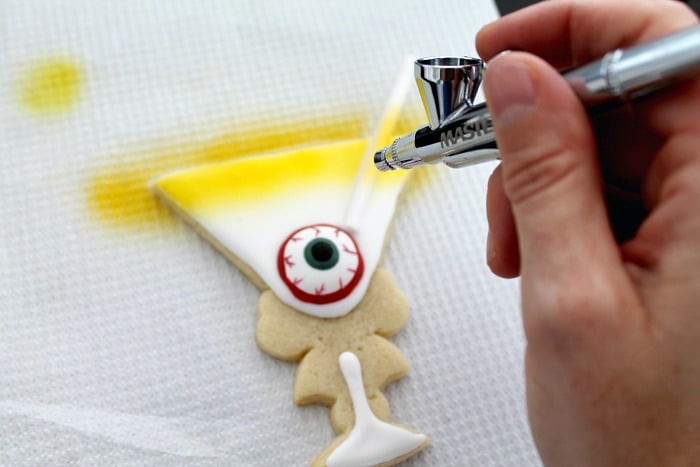
Follow with orange across the center of your cookie, slightly overlapping the yellow to create an ombré effect.


Using the black 20 second icing, add the loops of your bow on either side of the glass base.


Switch to the piping consistency and outline all around the edges of your glass, skipping over the cookie stick.


Add the front edge of the glass rim by piping a slightly curved line from corner to corner. Be sure to pipe over and across the cookie stick here.

Outline the stem as well.

Once the top of your bow is dry, add the tails using the 20 second black icing. Pipe an outline around the bow loops and tail sections. Finally, add the center knot.


Hope you have a spooky good time this Halloween! Trick or treat!
We’d like to extend a big THANK YOU to Amy for sharing these fun cookies with us. Be sure to follow her on Facebook & Instagram for adorable cookie decorating ideas. You can also order cookies from her! Check out the FAQ section of her website for more information.