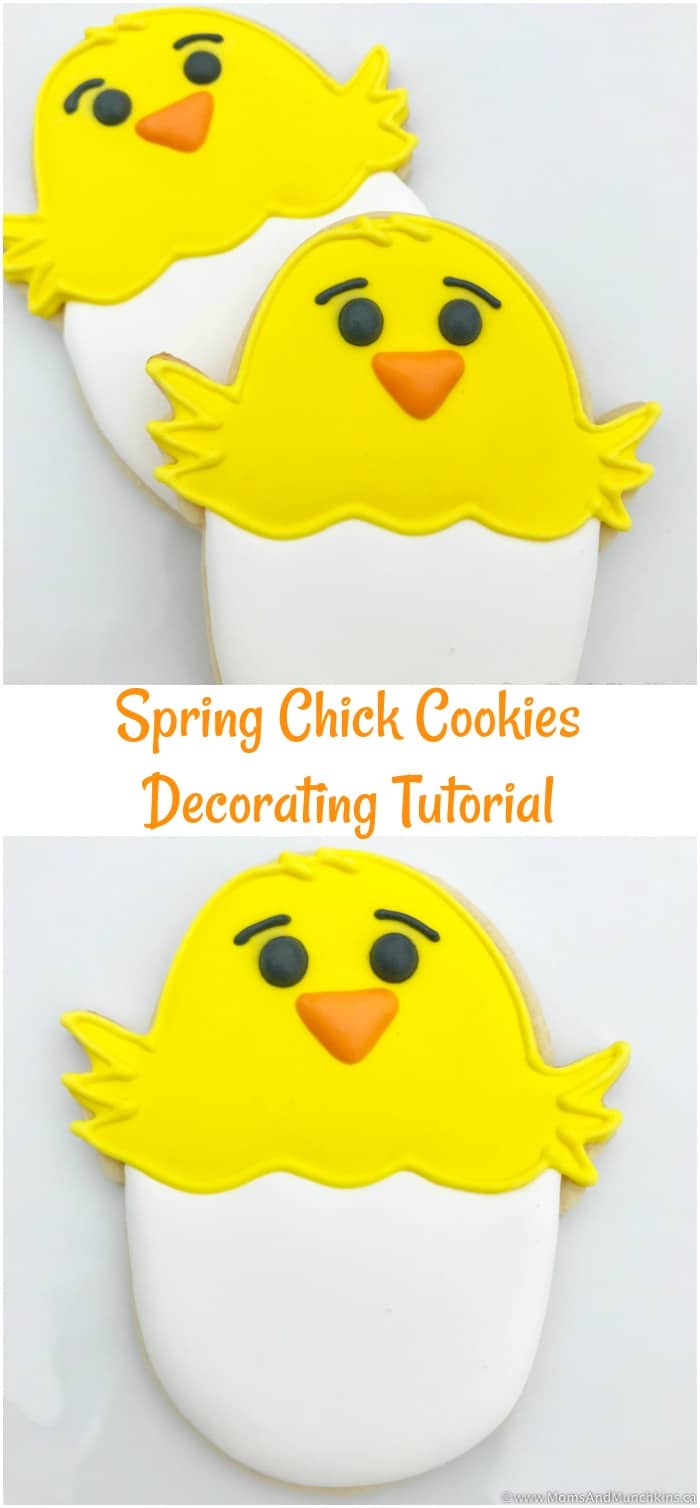
This Spring Chick Cookies tutorial is courtesy of our contributor Samantha of The Smarter Cookie…It’s hard to believe that spring is finally here! The flowers begin to bloom, the days get longer, and spring chicks start to hatch! Here’s a quick tutorial on how you can create your own spring hatchling!
Spring Chick Cookies – What You’ll Need:
- White 20-second icing
- Yellow 20-second icing
- Orange 20-second icing
- Black 20-second icing
For this set, I combined two cookie cutters that I had – the tulip flower and the chickadee cutter. You’ll want to roll out your dough and cut out the chickadee first. Then take the top of the tulip and cut the bottom half of the chickadee, just below his wings. This will give you that nice jagged “broken egg” cut.
You can then cut the tulip out from your dough and trim off the bottom. When you combine the two cookies into one, you’ll get the shape of the chick hatching, and the lines will already be drawn for you to shape the “cracked” egg!
Once your cookies are set, you can begin outlining the egg portion of the cookie with the white icing. Since the jagged edge of the egg is already there, you can just follow along those lines. If you’ve been following my posts, you’ll notice that I very rarely use tips anymore; I simply cut the hole to my desired size. If using tips, you could use a PME 1.5 tip or a Wilton 2 tip for this portion.
Smooth out the icing with either an offset spatula, boo boo stick, toothpick, or scribe tool. I prefer the scribe tool as it’s easy to clean and can be helpful in popping any pesky air bubbles that are created.
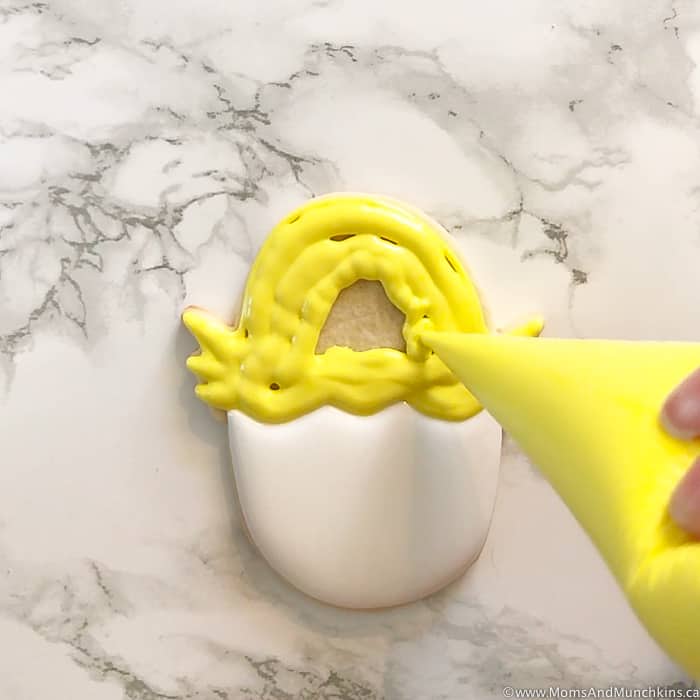
Once the white sets, you can begin working on the chickadee portion. Using the yellow icing, outline the shape of the chickadee, not forgetting to give some definition to the wings. Fill it in and again, smooth out the icing in your chosen manner.
After the yellow portion dries, you can begin to give the chickadee a face. Start with the nose, which is simply an upside down triangle. From there, using the black icing, pipe two eyes and don’t forget his eyebrows! Adding eyebrows gives any face added character!
Finally, you can pipe a yellow outline around the chickadee. When doing so, don’t forget to define his wings, and feel free to give him some “hair” on the top. Use your imagination!
Let your cookies dry overnight. These are perfect for a spring-time celebration, Easter, or just because!
We’d like to send a big THANK YOU to Samantha of The Smarter Cookie for this cookie decorating tutorial. You’re going to love her cookie designs! Follow her on Instagram for loads of cookie decorating inspiration.


