This Peppermint Brownie Pops tutorial is courtesy of our contributor Karen of Cake Bites By Karen…When people know you bake (even if it’s just for fun), the holidays bring an extra load of pressure. Christmas bazaars, holiday potlucks, cookie exchanges…the holidays can leave you covered in flour and dried on new ideas. That’s where I come in. I thought of this Peppermint Brownie Pop as a cute gift for my kids’ daycare workers, as a thank you for all the hard work they do. The concept is simple: use a candy cane as a cake pop stick. Here’s how I did it…
Peppermint Brownie Pops – What You’ll Need:
- Brownie mix
- Eggs
- Oil
- Milk
- Mint Chocolates (any brand)
- Peppermint extract (optional)
- Candy Canes or Candy Cane Sticks
- Melting Chocolate
- Sprinkles (optional)
Step One: You can make your brownies from scratch but I’m always looking for ways to quicken the process so I used a brownie mix. Prepare the batter as per box instructions.
Step Two: Chop up your mint chocolates (any brand) dump into the batter. I added a few drops of peppermint extracts as the brand of chocolate I bought wasn’t very “minty”. This is purely optional.
Step Three: Fold the chocolate mint pieces (and extract) into the batter and pour into a pan for baking. I spray my pans with a baking spray that contains flour so my brownies don’t stick.
Step Four: Bake and let cool. If you’re in a rush, you can start rolling your brownies balls as soon as they have cooled or you can cover the pan with foil and leave it overnight to soften.
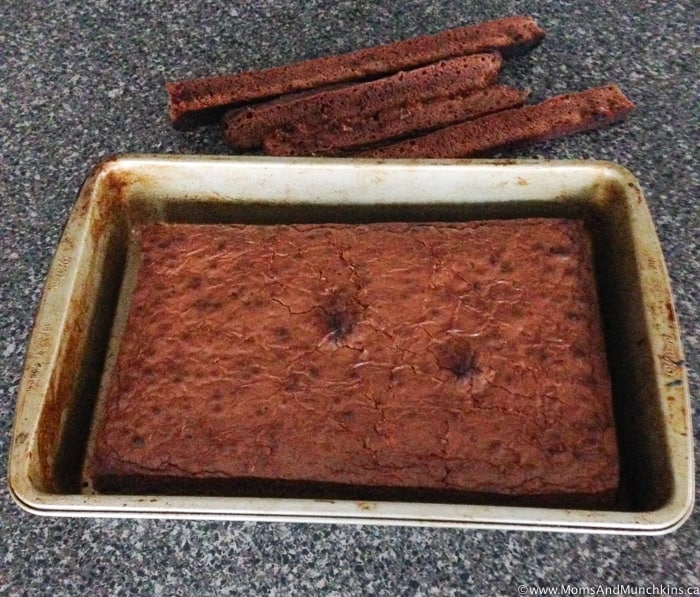
Step Five: Once your brownies have cooled, you can begin to roll your brownies balls. Avoid using the harder side pieces so you get a smoother roll. Remember to wash your hands before doing this – you might even want to use gloves or plastic wrap during this process since it gets sticky. Depending on how you plan on decorating them, you don’t have to have them perfectly smooth and round. It’s Christmas! It’s all about fun not perfection!
Once the brownie balls are rolled, you can set them aside and get ready to dip your “sticks”/candy canes.
Step Six: So initially when I started this article, I wanted to get any ol’ candy canes, break off the curved top section (crushing the top pieces for decorative sprinkles) and use the longer piece as a cake pop stick. But I learned something important – sometimes (as my mother would say) “cheap things aren’t good and good things aren’t cheap.” I found that you have to be careful with the quality of candy canes you get. They don’t have to be super expensive but the ones I initially got shattered really easily or were already broken in the box. I ended going to the bulk store and getting these candy cane sticks, so choose wisely.
Once you have your (candy) cake pop stick, dip it into melted chocolate (I microwaved my chocolate and stirred until smoothed – as per the package) and insert it into the brownie ball. Let this set.
Step Seven: Once the chocolate has dried and the brownie ball is secured to the candy stick, dip the pop into chocolate. Leave to dry or decorate immediately with sprinkles and/or candy cane pieces.
One last thing about the candy cane stick: If possible, try to keep the plastic on the candy cane stick. If you use a curved candy cane, just break off the top and peel back the wrapping with enough room to dip your pop. The same goes for straight candy cane sticks (I didn’t have the option of this when I took these pics). That way you have less sticky hands and a great holiday gift.
Lastly, I just wanted to thank you guys for a great year of writing and hope you all have a wonderful holiday season! ‘Til next year!
Thank you to our contributor Karen for this fun cake pops tutorial! Check out more of her cake pop creations on her Cake Bites by Karen Instagram page.


