This tutorial for Moose Cake Pops is courtesy of our contributor Deanna…One of the first things you learn as a military spouse is that you move, all the time. Every few years we pick up our homes and we move them, sometimes across country, sometimes in an entirely new country. With that being said making friends is rather difficult. You either jump right in knowing you will leave these people eventually, or you become a hermit and only let the good ones in. I’m the hermit type. I have only a small handful of friends, and one of those friends is moving to Alaska. We are throwing her a surprise going away party with a very wilderness/Alaska theme. That is where my idea for these adorable moose cake pops came from. Shenna has been not only a loyal friend, but a loyal customer of mine since the beginning so I knew when we were planning the party that I was going to make cake pops. So I bring you a tutorial on how I created the moose cake pops that will be saying “farewell” to my good friend Shenna.
Moose Cake Pops – What You’ll Need:
- cake pop dough shaped into a moose head (big nose!)
- cake pop sticks
- whole walnuts
- tootsie roll
- knife
- Milk or dark chocolate
- white chocolate
- black chocolate
- tooth pick
- cake pop stand or Styrofoam block
First shape your cake pop dough into a moose head. Narrow at the top, big and round at the bottom, with an indent at the top where the eyes will go.
Get out your walnuts and carefully cut them in half and set aside. These will be the moose antlers.
Break off a piece of tootsie roll and roll it in your hands to make a long snake. This should be just a bit thicker than your cake pop stick. Cut into small pieces.
Carefully smooth out the sharp edges and shape into cylinders.
Dip your cake pop stick into the chocolate, then into the cake ball. (narrow end up!)
Carefully push the walnuts into the side of the moose head, once they look even take them out and dip them in chocolate, then place back into the moose head. Smooth out the chocolate with your finger or tooth pick and apply more as needed. You’ll want these to be pretty secure.
Next, take those cylinder shaped tootsie rolls you made and put them on the top of the moose. Once you have them in the right place secure them with chocolate much like you did the walnut antlers.
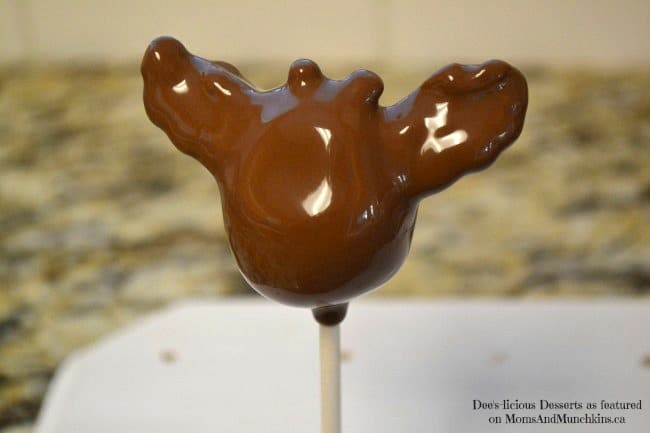
Once all the chocolate had hardened and the walnuts and tootsie is secured dip your entire moose into your melted chocolate.
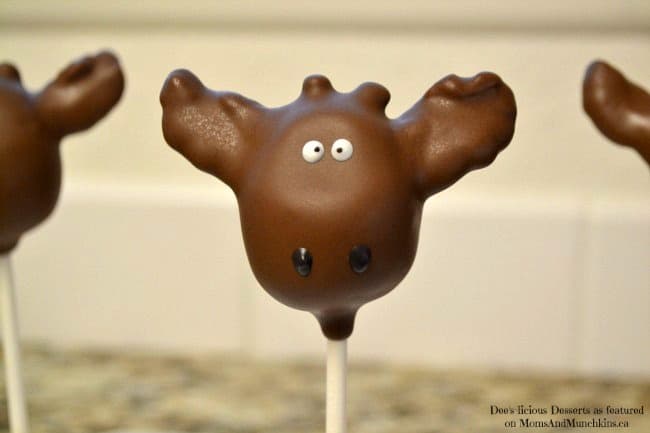
When those are dry you can add nose and eye detail. I gave mine crossed eyes on accident, but ended up liking them so I did that to the rest.
And there you have it, almost too cute to eat moose cake pops!
Thank you to Deanna for sharing this delicious & adorable tutorial with us. To see more of Deanna’s delicious creations, visit her Dee’s-licious Desserts page on Facebook. She also has a new website – Deanna’s Kitchen.


Oh my gosh! They are too cute!
These are so adorable!!
Omg adorable lol i have to pin this!! xo, Jess @ dreamingofleaving.com
These were so cute! I loved them so much and so did the boys. I’m really going to miss you Deanna