This Ice Cream Cookies tutorial is courtesy of our contributor Amy…I scream. You scream. We ALL scream for ICE CREAM!! It’s August and hot as can be and I absolutely love it! Why not cool down with a non-melting ice cream cookie? To make them extra sweet, there’s sprinkles inside and out!
Ice Cream Cookies Tutorial Supplies:
- Your favorite cookie dough recipe
- 20 second icing for the cone section- I used a mixture of Wilton Copper and Americolor Chocolate Brown
- 20 second icing for the chocolate sauce (just thin down a bit of the cone color and add an extra drop of brown
- 20 second icing in the scoop colors of your choice (I used pink and white)
- Piping icing in the scoop colors of your choice (I made my piping icing first, and then thinned down the rest for the actual scoops)
- Brown edible food marker
- Rainbow nonpareils and traditional rainbow sprinkles
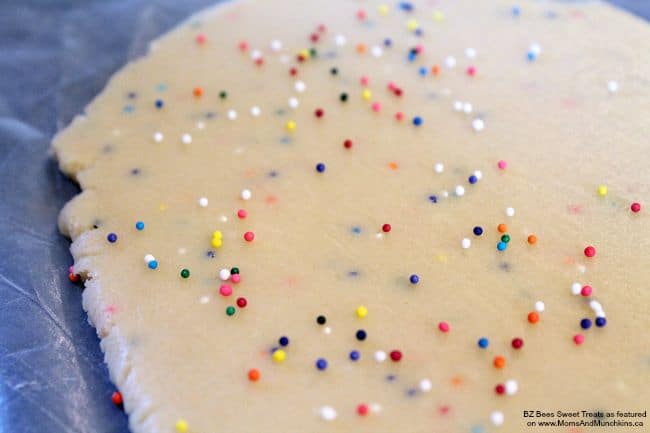
Roll out your dough and sprinkle the surface with some Rainbow nonpareils.
Fold your dough jelly-roll style and then roll out again. Repeat with a second layer of sprinkles, or until your dough looks as colorful as you’d like.
Cut out your ice cream cones and bake them up!
Look at all that adorable rainbow confetti!
Once your cookies have cooled, outline and flood the cone section of your cookies. Allow these to dry for a few hours.
Next, using your edible marker draw evenly spaced angled lines on the cone.
Add a second set of lines going in the opposite direction. Be sure to use light pressure or you may make holes in your icing.
Using the matching piping icing, outline the top scoop section and make 3 half circles slightly overlapping the cone. Let the outlines dry for a few minutes before you fill in the scoops. This will help keep the “ice cream” from running off the edge of your cookie, and add a little bit of dimension to the scoop.
Fill in the ice cream scoops and then add a few teardrop shaped drips randomly on the cookie. This is the perfect chance to cover any dents from the edible marker. You can achieve the tear shape by making a dot of icing and then pulling your piping bag towards the scoop as you release pressure.
Once the scoops are dry you can use the piping icing to make C shapes on each half circle. I like to curl the ends inward, and have the C’s touching slightly.
Next up – topping time! Outline your scoop just shy of the edge, and fill in. I recommend not outlining all the way to the edge, because the weight of the sprinkles will cause the icing to overflow.
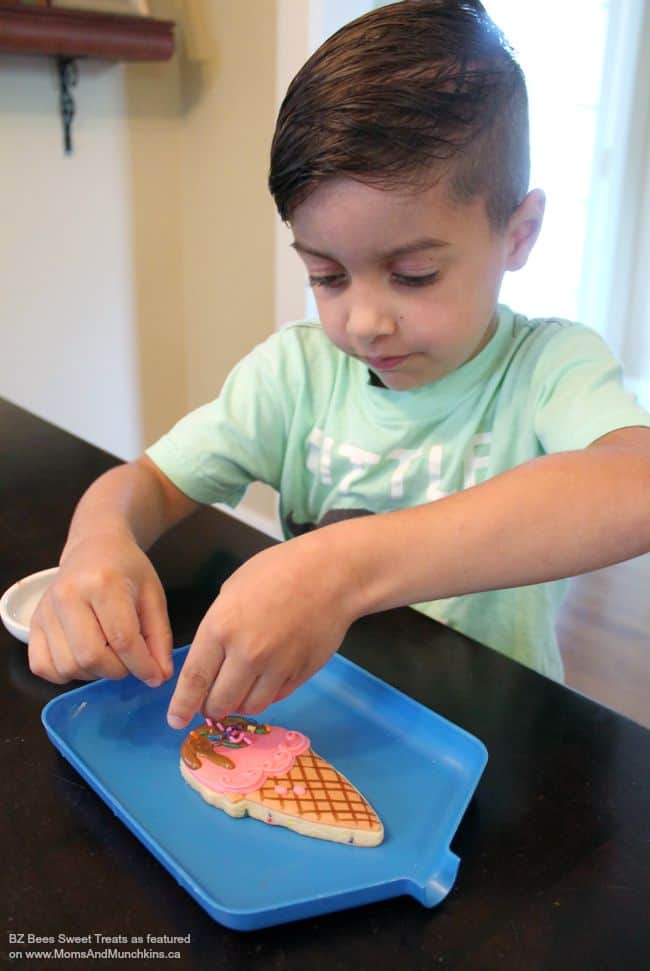
My children couldn’t wait to help me with the grand finale – SPRINKLES! It’s a simple job, but oh so fun for little hands. Place your cookie in a shallow dish or use one of these fantastic bead trays. The tray will catch the excess sprinkles, and the handy funnel allows you pour everything neatly back into the container when you’re done.
Super sweet and super fun cookies! Hooray!
We’d like to extend a big THANK YOU to Amy for sharing this Ice Cream Cookies tutorial with us. Be sure to follow her on Facebook & Instagram for adorable cookie decorating ideas. You will LOVE her designs! I first came across her beautiful cookie creations on Instagram and I was immediately a fan of her work!! Have a special celebration coming up? You can also order cookies from her! Check out the FAQ section of her website for more information.


