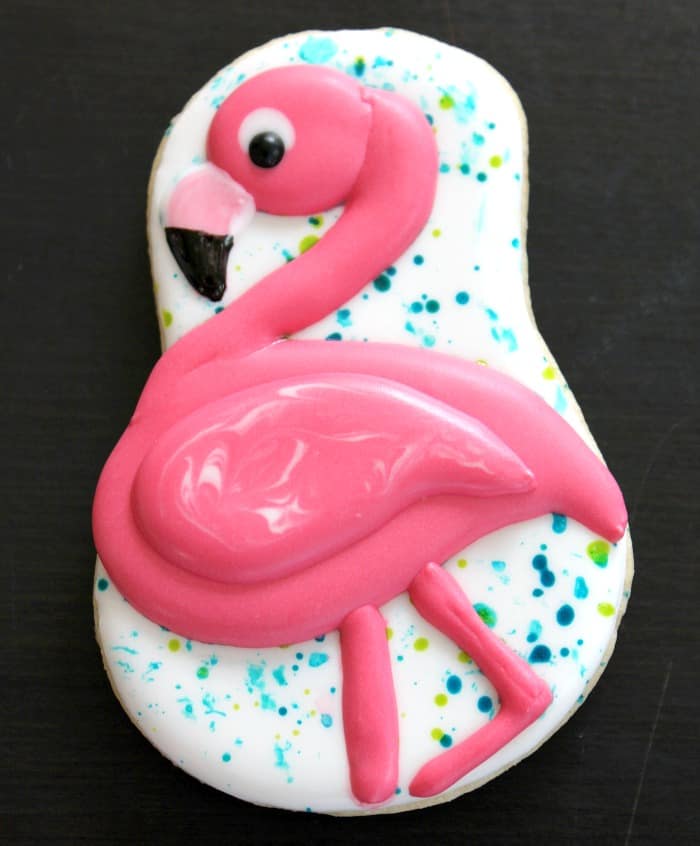
This Flamingo Cookies decorating tutorial is courtesy of our contributor Amy of BZ Bees Sweet Treats…I don’t know about you but I’m totally loving the flamingo trend that’s become popular in recent months. From birthday parties and baby showers to bachelorette blow-outs – I’m seeing pink just about everywhere! Of course I wanted to “cookie” these cute feathered friends- but any baker/decorator knows that their shape is an absolute nightmare! Those elegantly curved necks and delicate legs may look graceful, but don’t make for a very sturdy cookie. And let’s not even mention the dough that gets stuck in every nook and cranny of a flamingo shaped cutter.
I went on a treasure hunt through my stash of summer themed cookie cutter to find the perfect fit for these flamingo cookies. And wouldn’t you know, the gentle curves of my flip flop cookie cutter just screamed flamingo! A quick flip upside down and the shape was a sturdy but pretty solution to the great flamingo fuss.
Flamingo Cookies – What You’ll Need:
- flip flop shaped cookies, baked and cooled (here’s a sugar cookie recipe)
- white flood consistency icing (Callye of SweetSugarbelle explains all about icing consistencies here)
- pink 20 second icing (I used Pro-gel Strawberry which is seriously swoon worthy, but Wilton Rose would also be a great choice)
- Black sugar pearls
- airbrush food coloring in your choice of colors (I used Americolor Sky Blue and Electric Green)
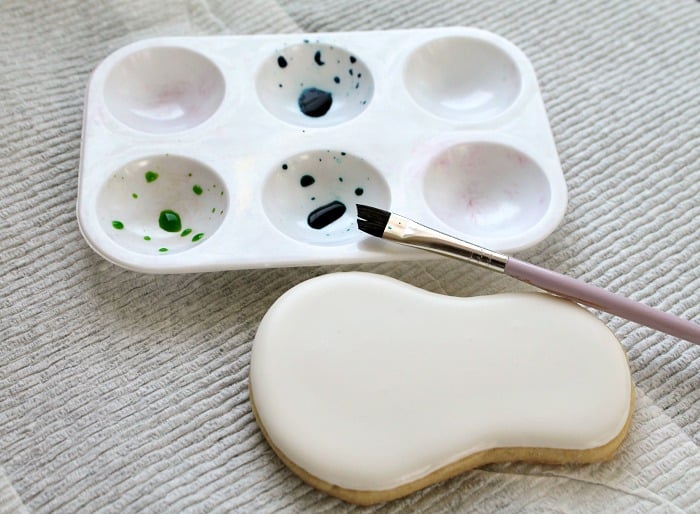
- clean paint palette and food safe paintbrush
Start by outlining and flooding your flip flip cookies using the white icing. Allow the cookies to dry 1-2 hours. I wanted a simple but colorful background to compliment the bird’s bright pink hue, so I went with a fun splatter design. It’s a snap to create but can get a little messy so be sure to lay out paper towels across a large work surface. Definitely don’t splatter next to a freshly painted wall or while wearing a new shirt – don’t ask me why I know this. Ha!
I used just one drop of each airbrush color mixed with 1-2 drops of water. The water helps dilute the color and consistency ever so slightly. Just be careful not to add too much water, or you’ll cause pits and craters in the white icing layer.
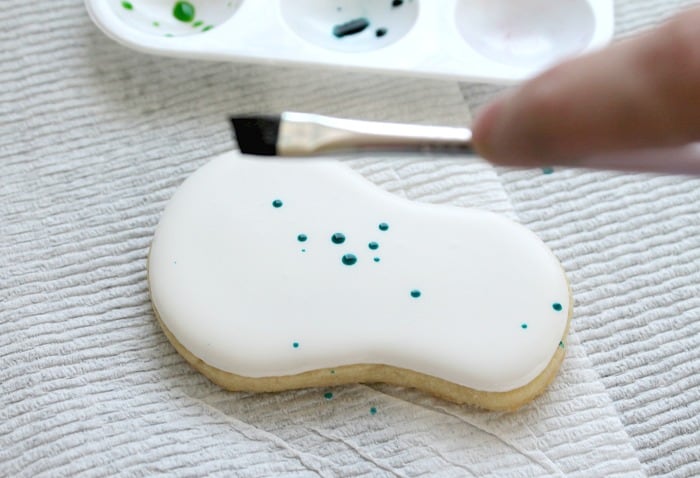
Dip the edges of your paintbrush in one color. Hold your paintbrush directly above your cookie and gently tap the top of the handle with your index finger. You’ll create smaller/larger splatters of icing depending on how much color you have on the bristles and how close you hold your paintbrush to your cookie. Feel free to splatter a few cookies at a time to catch any rouge color droplets.
I rinsed my brush and switched from blue to electric green, then went back for a third round of splatters with a combination of both colors on my brush to get a beautiful shade of aqua. Let the splatters dry completely before moving on.
You can splatter just a single color, or any combination you like. This background design would also work great for art party or even paintball themed cookies so be sure to keep it in your design arsenal!
Position your flip flop cookie with the smaller portion pointing up. Starting at the center curve, pipe an arc across your cookie.
Return to your starting point and pipe a line curving upward and arcing back down. to create a tear drop or comma shape. Fill in and use a scribe or toothpick to smooth and move the icing.
Pipe a dime sized circle at the top left side of your cookie. Use a scribe or toothpick to shape into a slight oval.
Using your remaining white flood consistency icing, add a single drop toward the left side of the oval. Immediately drop in a black sugar pearl for the eye. I like to grab them using a scribe dipped in the tiniest amount of wet icing. The pearl will stick to the scribe and you wont have to rifle through the container with your hands to pick up a tiny sprinkle.
Pipe a curved line – almost like a backwards “S”- from the left side of the body to the right side of the head. Add a second line aprroximately 1/4 inch apart and fill in with icing.
Once the first layer of icing has crusted over, pipe a second smaller teardrop shape directly over the body.
Fill in with pink and then immediately add a line of white icing
Using a scribe, gently swirl and marble the white line into the pink icing wing to create the subtle look of feathers. This step is optional but I think it adds a nice bit of dimension.
While the rest of the flamingo dries, add the beak. I took the lazy girl route and decide to mix this lighter shade of pink directly on the cookie instead of prepping a new icing bag. But I actually really love how it created color variations just like an actual flamingo beak!
Start by piping a small blob of white icing at the front of your head, just below eye level. Add an even smaller blob of pink icing and gently swirl together. Use a scribe to drag the icing downward to a curved point.
Once the beak is completely dry, color the bottom third with a black edible ink marker.
Pipe on a vertical line and and an angled line for the legs and you’re ready to “flamingle”at your next celebration.
We’d like to extend a big THANK YOU to Amy for sharing these fun Flamingo cookies with us. Be sure to follow her on Facebook & Instagram for adorable cookie decorating ideas. You can also order cookies from her! Check out the FAQ section of her website for more information.


