This Winter Mittens Cookies tutorial is courtesy of our contributor Amy of BZ Bees Sweet Treats…Winter is officially upon us, and with that brings all the trimmings – hats, scarves and warm mittens. These cute and cozy cookies are sure to warm your heart all through the cold weather months!
I love finding hidden designs in cookie cutters I already own. While sorting through my collection, I accidentally grabbed this “Fall Plaque” cutter from SweetLeigh Printed wrong side up. The upside down bow design screamed “MITTENS!” to me, and thus this cookie design was born. You can purchase this adorable multi-use cookie cutter from Meg’s Etsy shop here.
Winter Mittens Cookies – What You’ll Need:
- brown piping icing fitted with Wilton tip 2
- light brown flood icing
- brown edible ink marker, short bristle paintbrush and a small dish of water
- light blue 20 second icing
- red piping icing
- white non-pareils
Start by rotating your baked and cooled cookies so the bow is at the base.
With your brown piping icing, outline the plaque shape. Try to pipe the bottom edge of the plaque to match the top curve. It’s ok if it’s not a perfect match!
Allow the piping icing to dry a few minutes and then flood the plaque with light brown icing.
Smooth the icing and pop any pesky air bubbles. Allow your cookies to dry 8+ hours or overnight if possible.
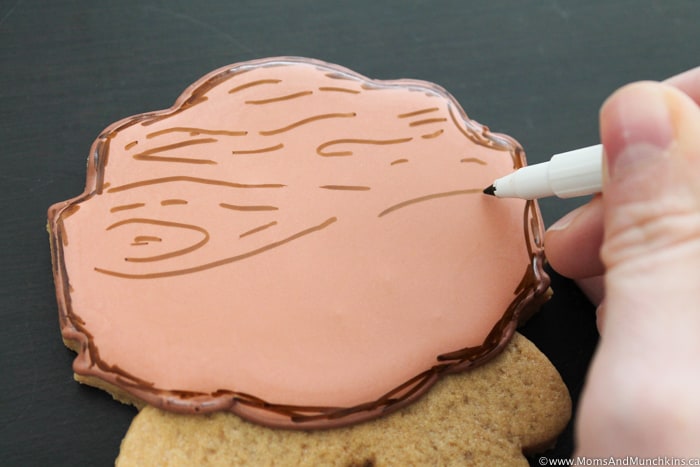
When your icing is completely dry, color a thin border around the plaque with your brown edible ink marker.
Next, add wood grain by drawing lines horizontally across your cookie. Vary the size, pattern and curves, so it looks organic.
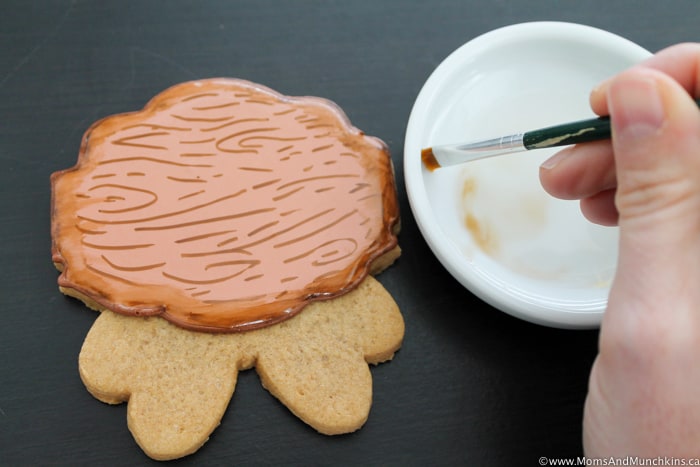
Dampen your paintbrush with just a bit of water and blend the marker border you created inward. This will add some nice shading around the cookie.
Dip your brush again and gently blend the grain lines by softly painting across your cookie. Use a tiny bit of water as needed. Too much water and you’ll pit the icing and all the lines will run together.
Once the wood grain effect is dry, pipe a mitten shape on each bow section using the blue icing. I used a tipless bag here, but you can use a Wilton 1 or 2 if that’s more comfortable.
Immediately fill in the mittens with blue icing.
While the icing is still wet, pipe a heart shape on each mitten with red icing.
Use a scribe to gently distribute the red, taking care not to warp the heart shape.
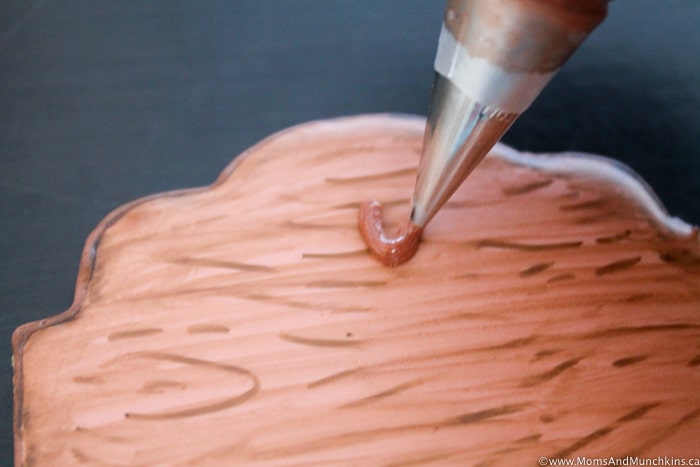
Using the brown piping icing, add a hook towards the top of the plaque. Allow the mittens and hooks to dry before moving on.
Add a cuff to each mitten using the blue icing.
Place your cookie in a coffee filter or tray and immediately sprinkle white nonpareils onto the wet cuffs. I like using a coffee filter because they’re easy to bend and pour excess sprinkles back into the container.
Pipe a string from each mitten to the hook using red icing.
Pipe a bow to “tie” your mittens onto the hook.
Can’t you just picture these sweet mittens dripping dry after a day of snowy fun? Grab a cookie and get warm and cozy – no frostbite required. Enjoy!
We’d like to extend a big THANK YOU to Amy for sharing these winter mittens cookies with us. Be sure to follow her on Facebook & Instagram for adorable cookie decorating ideas. You can also order cookies from her! Check out the FAQ section of her website for more information.


