This Flower Cake Pops tutorial is courtesy of our contributor Deanna…I feel like I start every tutorial with “Can you believe it’s *month* already?!” but seriously, it’s JUNE. WHAT? Kids are out of school here, and I’m still in denial about the already 100+ temps here in southern California. I’ve been really into flowers lately. If I didn’t live in the middle of a desert, where the only flower that grows is a rose, I would probably have a HUGE garden full of colorful flowers. So this month I thought I would do a fun and easy flower cake pop. Let’s get started.

Flower Cake Pops – What You’ll Need:
- Cake pop dipped in base color
- A baggie of melted white chocolate
- A baggie of melted yellow or orange chocolate
- A baggie of melted green chocolate
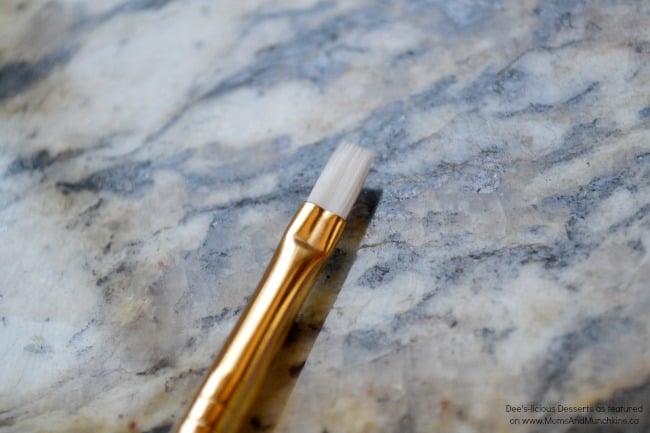
- A new paint brush
- White sanding sugar
Usually I would show you my undipped cake pop and how I dip them, but I figured you’ve all seen it a hundred times over. So let’s just jump right into the decorating.

First snip off the very end of your baggie of white chocolate. Pipe onto your cake pop the outline of your flower. I did 5 petals in sort of a loose heart shape.

Next take your paint brush and drag some of the chocolate you just piped inwards.

After that dries pipe on another 4 or so petals in the middle of the flower, and repeat the paint brush dragging process.
Pipe a dollop of yellow or orange chocolate in the center of your flower.

After that dries take your paint brush and paint over the white parts of the flower with water and sprinkle a pinch of sanding sugar over your flower.


Take your green chocolate and pipe out your leaf.


Drag the chocolate on the leaf inwards, then add a line down the center.

I also did one with polka dots for fun, because who doesn’t love polka dots?

And there you have it, a simple, quick, pretty cake pop perfect for summer!
For more adorable & delicious creations, follow Deanna’s Facebook page Dee’s-licious Desserts. She also has a blog, Deanna’s Kitchen, with tasty recipe ideas you’re sure to drool over. This cute Nerd Glasses Sugar Cookies tutorial would be perfect for a end of the year or back to school party!
