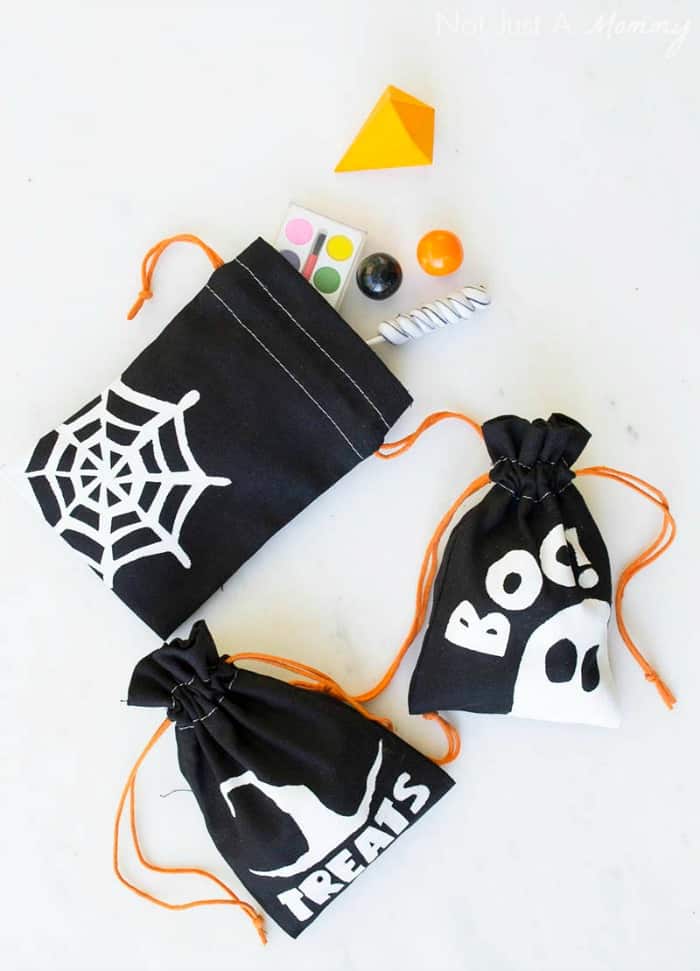
This DIY Halloween Stencil Bags tutorial is courtesy of our contributor Dawn of Not Just A Mommy…Halloween is right around the corner! Instead of using plastic or paper bags, how about creating a special keepsake for Halloween goodies? Today, I am sharing a fun and easy DIY for stenciling on these great treat bags I found in Target’s Dollar Spot! With my free downloads, you can create your own freezer paper templates to paint the bags with fun images.
DIY Halloween Stencil Bags – What You’ll Need:
- black muslin or cotton drawstring bag (mine measures 5” X 7”)
- soft fabric paint in white
- sponge dauber or brush
- freezer paper – NOT wax paper!!
- iron and ironing board
- piece of thick cardboard to fit inside your bag
- craft knife
- Download and print out my free Halloween templates (click on photo below)
- Use a lightbox or window to trace the designs onto the DULL side of the freezer paper OR if your printer can handle it, you can print directly onto the freezer paper by trimming a piece down to 8 ½” by 11” and taping a piece of printer paper to the shiny side, then running it through your printer.
- With a sharp craft knife, cut out the design; these will become your stencils. I recommend numbering complex pieces so you can remember which order they are in.
- Lay the tote on the ironing board and position the stencils, SHINY side down to your liking. Be sure it is exactly where you want because once you begin ironing, you can’t move the stencil.
- Using a warm, dry iron, apply heat by pressing the iron down onto the stencil and bag. Be sure to press down all of the edges, especially intricate details. You want to create a strong seal between the freezer paper and the tote; the shiny side is a thin layer of wax that melts and seals to the tote.
- Once the bag cools, insert the cardboard into the bag. It will keep the paint from bleeding through the bag.
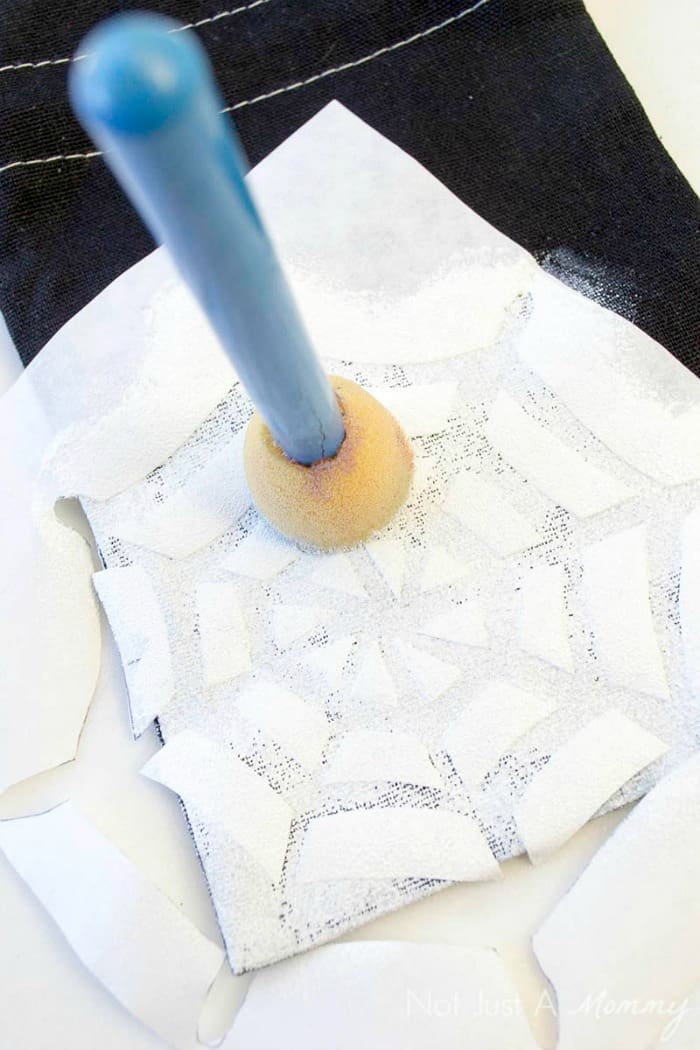
- Use the dauber or brush to dab paint onto your stencil with light coats to minimize bleed through under the stencil. Let dry about 30 minutes between coats.
- Carefully peel away the stencil and follow any ‘setting your design’ directions your paint has.
They are perfect takeaways for your Halloween party, filled with treats and toys. If you are hosting an adult party, little bottles of alcohol fit nicely inside…I’m just saying.
Need more Halloween party inspiration? Come over and check out my easy recipe for one of our favorite holiday drinks, Toxic Ooze!
We’d like to send a big THANK YOU to Dawn of Not Just A Mommy for sharing this fun Halloween idea with us. Over on Dawn’s blog you’ll find plenty of party ideas for all of life’s celebrations. I hope you’re ready to plan a party because she’s sure to leave you inspired! Be sure to follow her on Facebook, Pinterest and Twitter for even more creative ideas.


1 thought on “DIY Stenciled Bags for Halloween”